
What is Geyser
Geyser is a Minecraft proxy server. It allows to create scalable and flexible servers thanks to its specific API. It is known for its really good performances, since it can handle many players per proxy, and both Bedrock and Java players can join the same server.
It supports Paper, NeoForge, Fabric and many more variants.
Quick Installation
AxentHost provides a built-in GeyserMC server variant. You can use it to create a crossplay server with Geyser with no effort or further configuration.
- Login to AxentHost
- Create and Activate a Minecraft Server
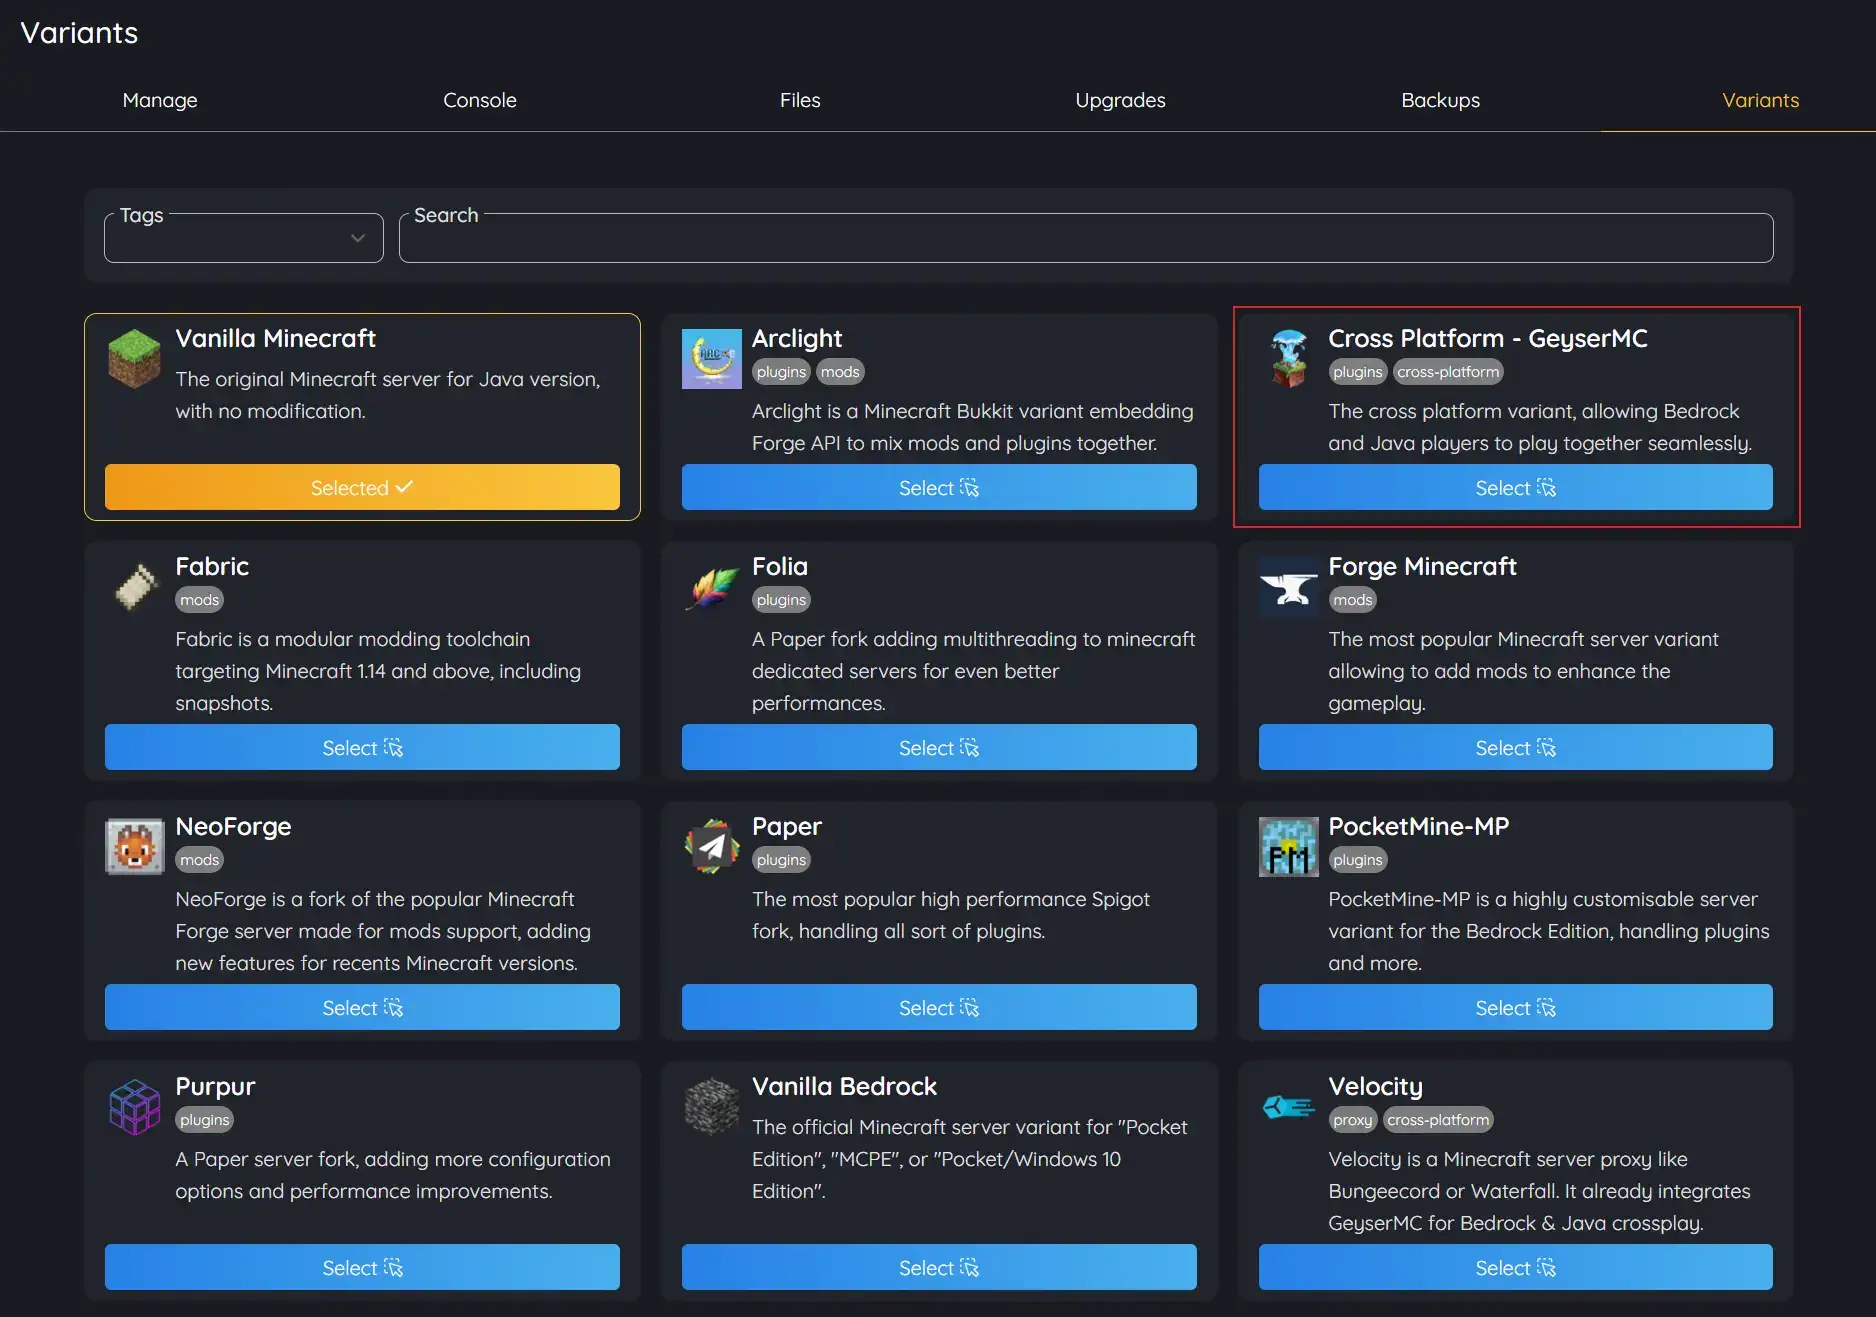
- Once activated, navigate to its "Variants" tab and switch to Geyser
- Click the checkbox to remove the previous vanilla server files on reinstall.
- Your server is now a crossplay server with Geyser!
Manual Installation
If you want to install Geyser manually, you can download the official Geyser JAR for your desired server variant. Then, you need to configure the Geyser configuration file to make it work.
1. Download the official Geyser JAR
You can download the official Geyser JAR for your desired server variant from the GeyserMC website.
2. Install the Geyser JAR on your server
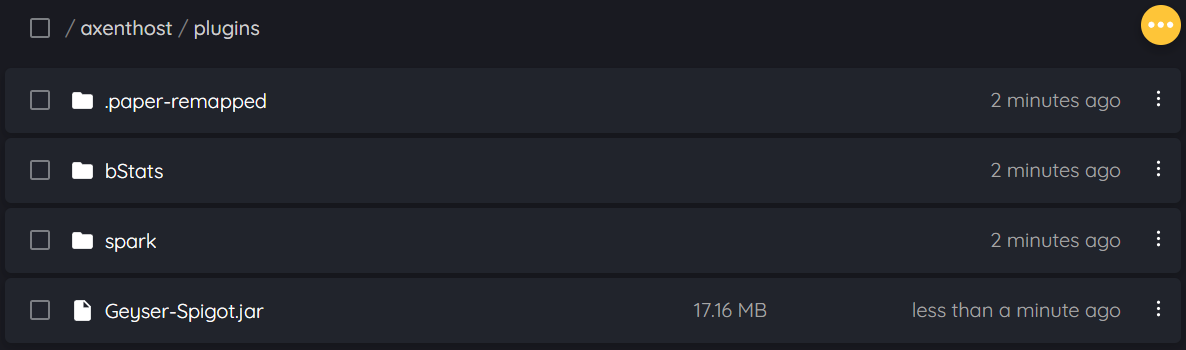
Once you have downloaded the Geyser JAR, you need to install it on your server. For this example we used the Paper server variant and will import the Geyser plugin directly in the server files.
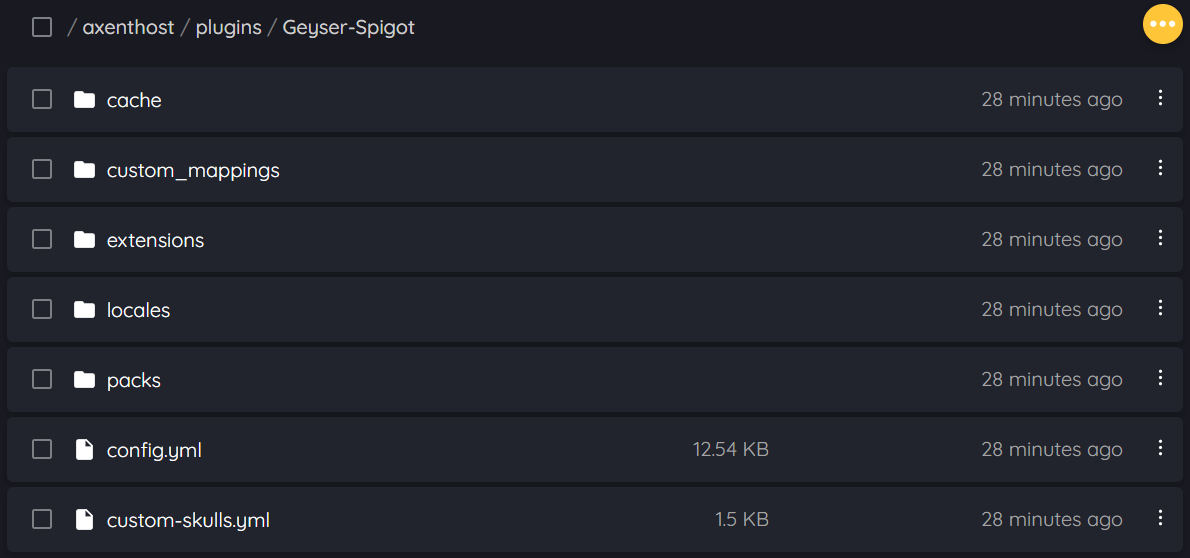
Once uploaded, restart your server to install the plugin. You will then have access to its
config.yml configuration
file.
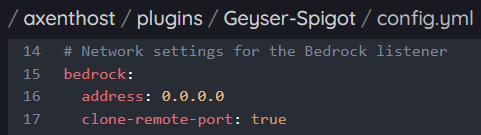
3. Configure the Geyser configuration file
Once ready, go to the previous
config.yml file, set
your server
clone-remote-port to
true.
After saving the file and restarting your server, you should now be able to join your Minecraft server on both Java and Bedrock clients.
4. Join your server
To join your server, you need to use the server port available in the server.properties file.
e.g. server-port=56093.
The connections addresses for both Java and Bedrock clients are the same.
e.g.
myserver.axenthost.me:56093.
Java players can still join their server using the IP without the port since a SRV record is automatically created for
the server.
e.g. myserver.axenthost.me.